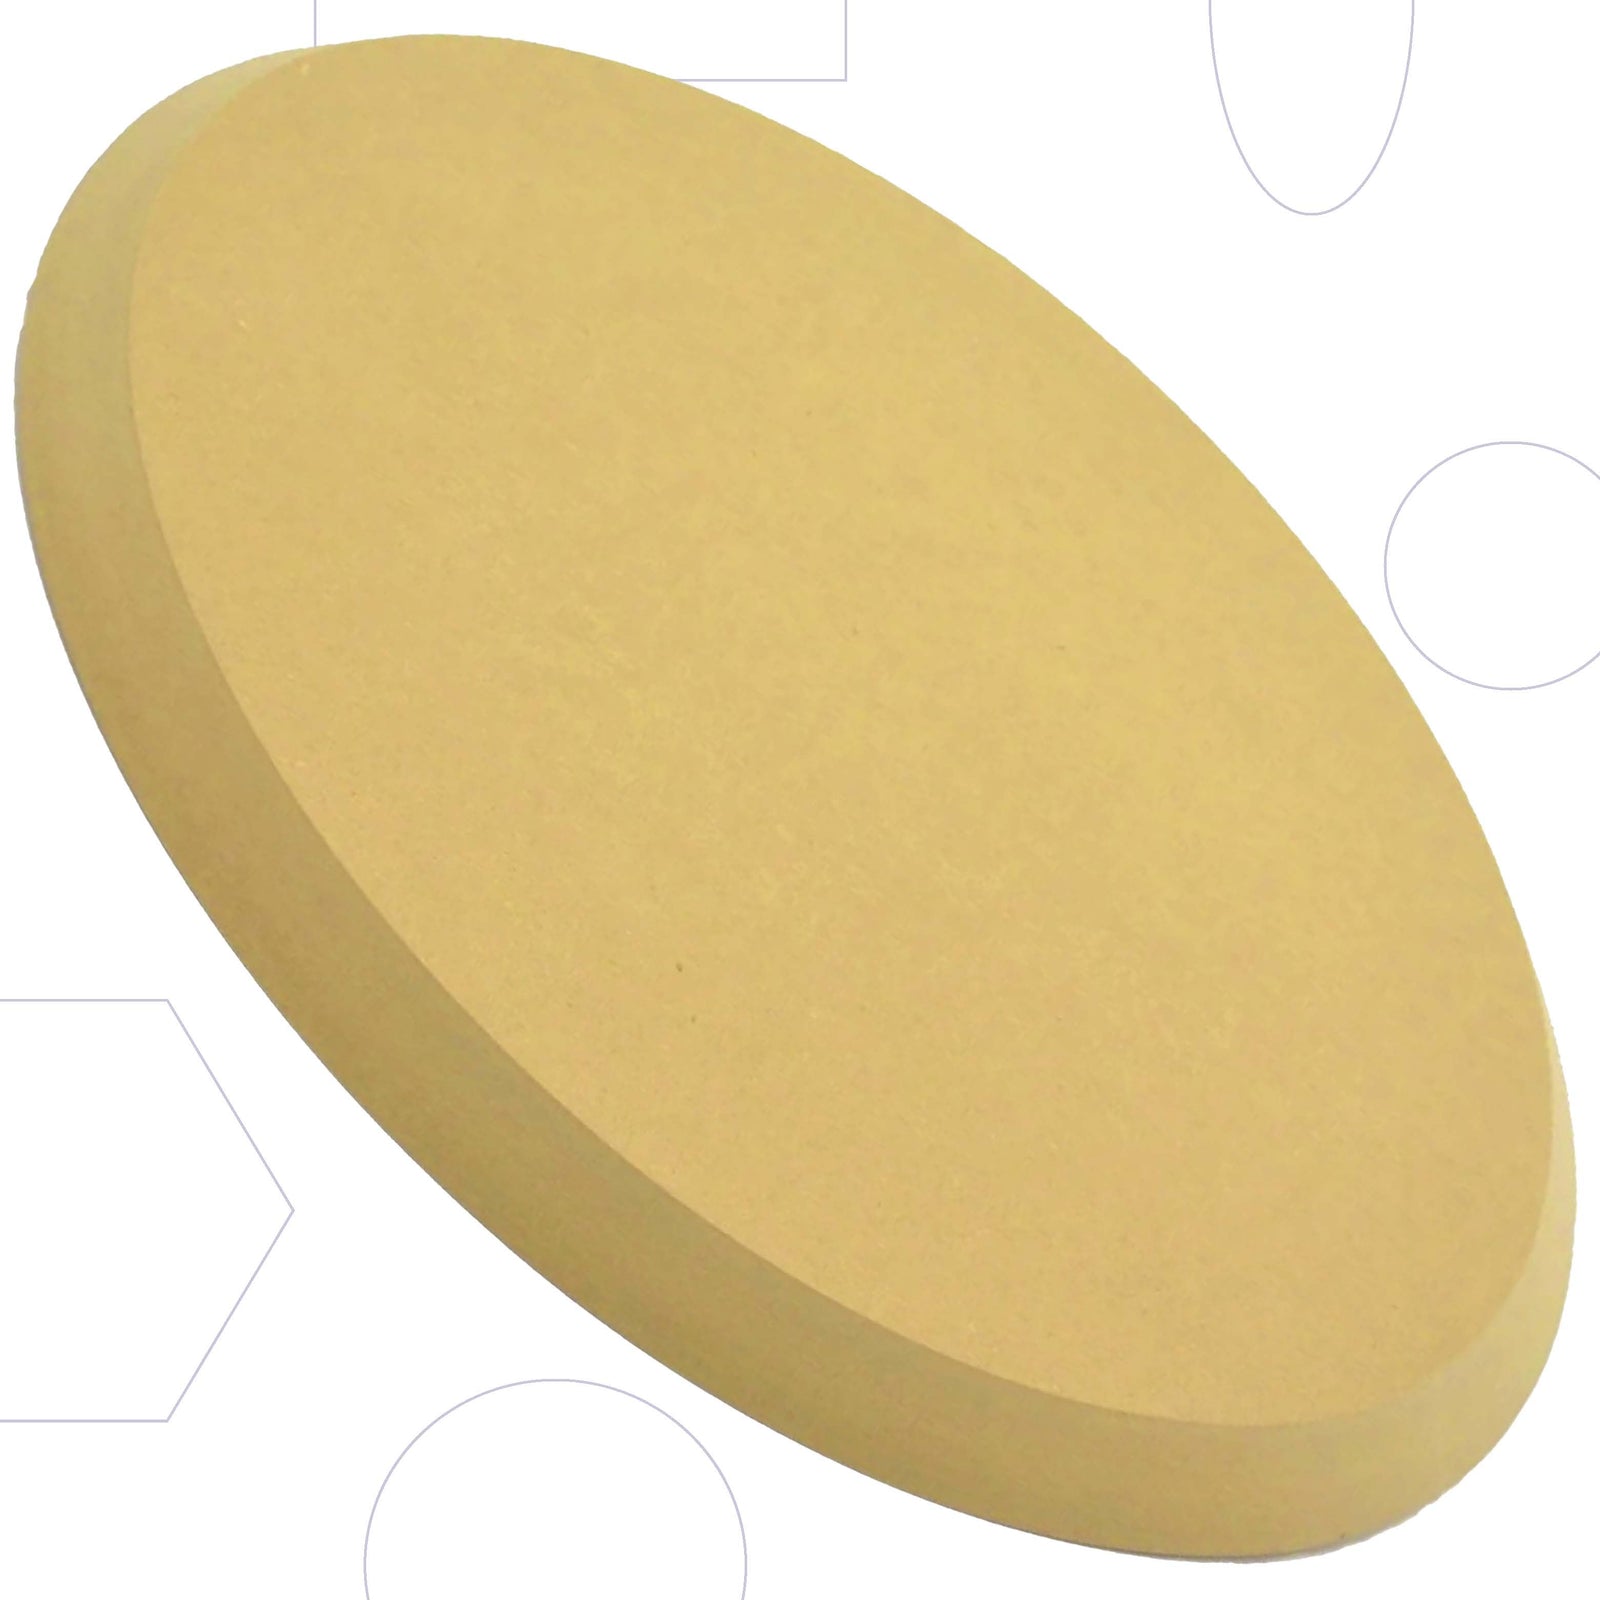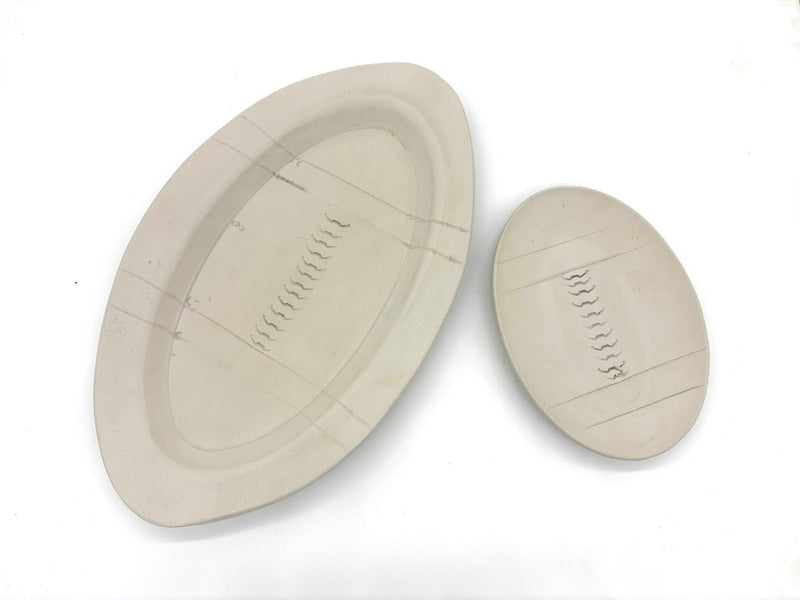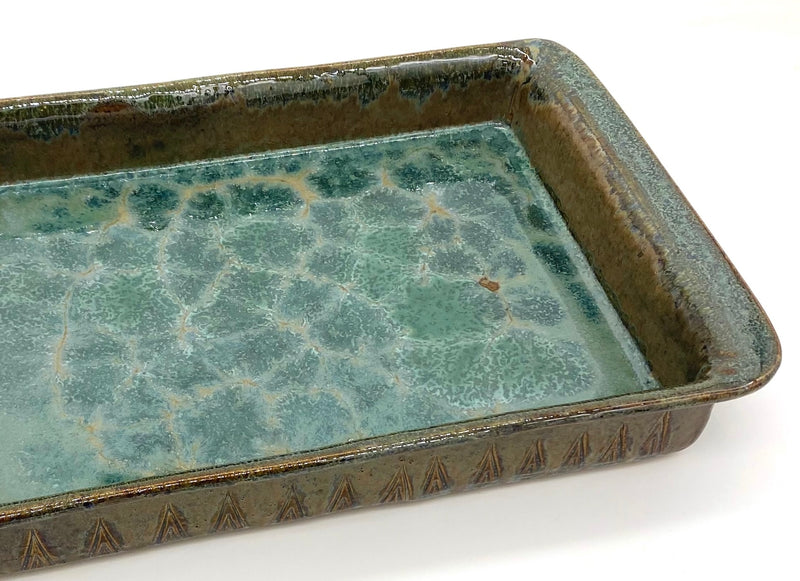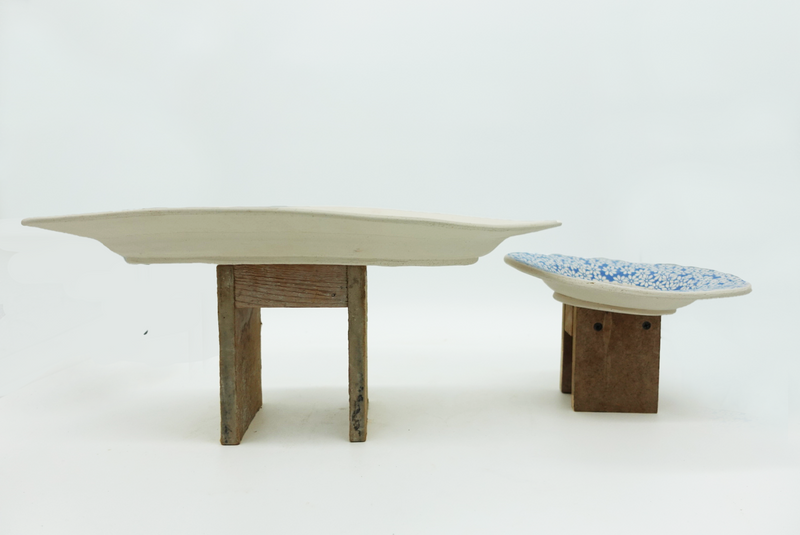

Would you like to create the perfect Oval Platter for the Holiday season? Our 13" x 17" Oval Form (link opens in new tab/window) creates a large Oval Platter which is the perfect size for serving Turkey or Ham. This shape will look beautiful in the center of a dinning room table or hanging up as home decoration. If you would like to create a piece like this for your home, here is a step-by-step guide on how to transform our Oval Form into a large leaf platter:
1. Compress the Slab
First, start off by compressing a large clay slab with a Mudtools Rib, our slab is a 1/4" thick. Double check that the slab is big enough for the 13" x 17" Oval Form (link opens in new tab/window) to fit on.
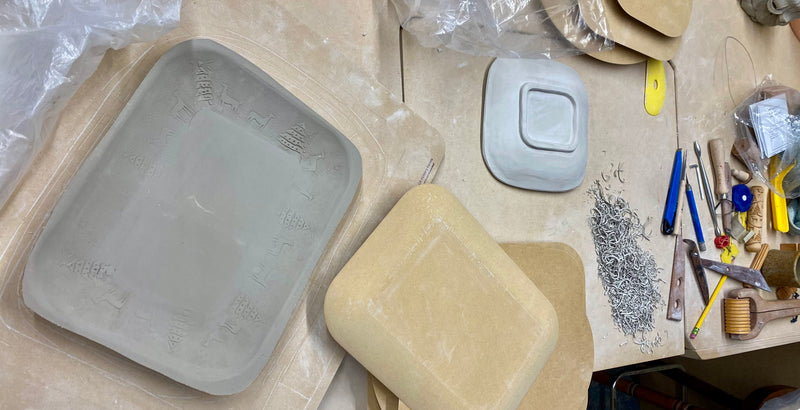
2. Make Impression
Next, take your Oval Form and press down the smaller side of the Form onto the Clay Slab - leaving an impression of its shape.
3. Soak and Dry Leaves
After the leaves have soaked in water for a couple hours, take them out of the water one at a time. Carefully pat them dry using a wash cloth.
4. Add Texture
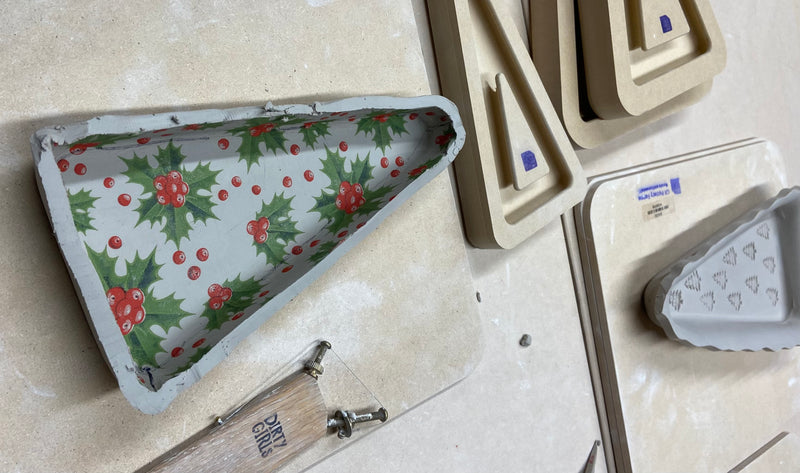
Now set the leaves down on the slab inside that impression line you made with the Oval Form (link opens in new tab/window) and lay them out in your preferred design. Once you're happy with where you've placed the leaves - use a rolling tool and flatten the leaves into the clay. Repeat on each leaf.
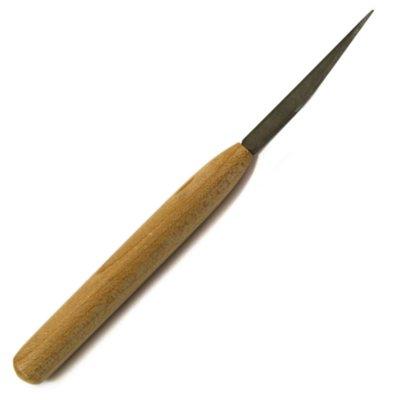
Once the leaves have been flattened onto the slab, use a Loonie Knife and lift up the stem. Grab the stem and slowly lift the leaf from the clay using your fingers. If one of your leaves gets stuck, help it lift off the clay using your knife.
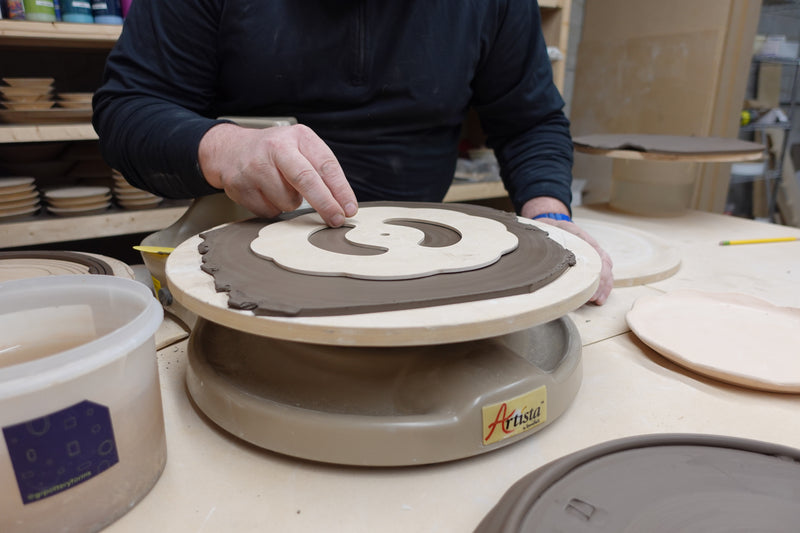
5. Flip the Form
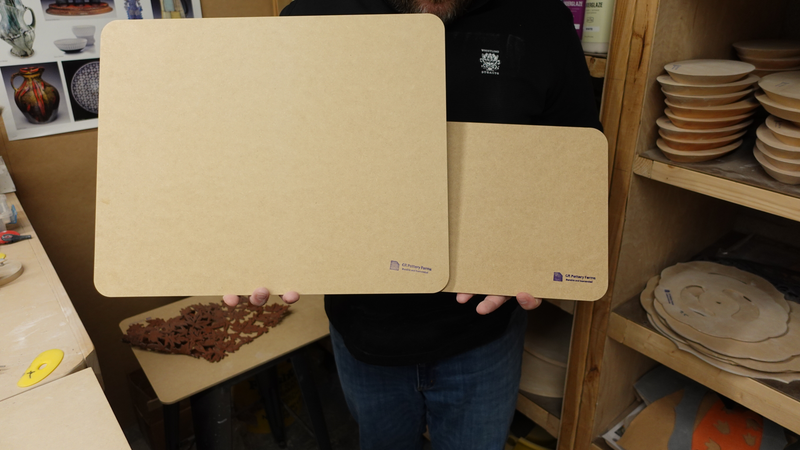
Now, once you've added all your texture - place the Oval Form on top of the slab, lining it up with your impression lines. Then take a piece of dry wall board and place it on top of the Form. Lift up both boards and flip. The slab should now be on top of the Oval Form.
6. Compress Clay onto the Form
Take off the board and use your fingers to mold the slab to the Form. Start off by adding low pressure and then slowly switch to medium-high pressure. Next, take a Mudtool's Rib (link opens in new tab/window) and compress.
7. Add Lip
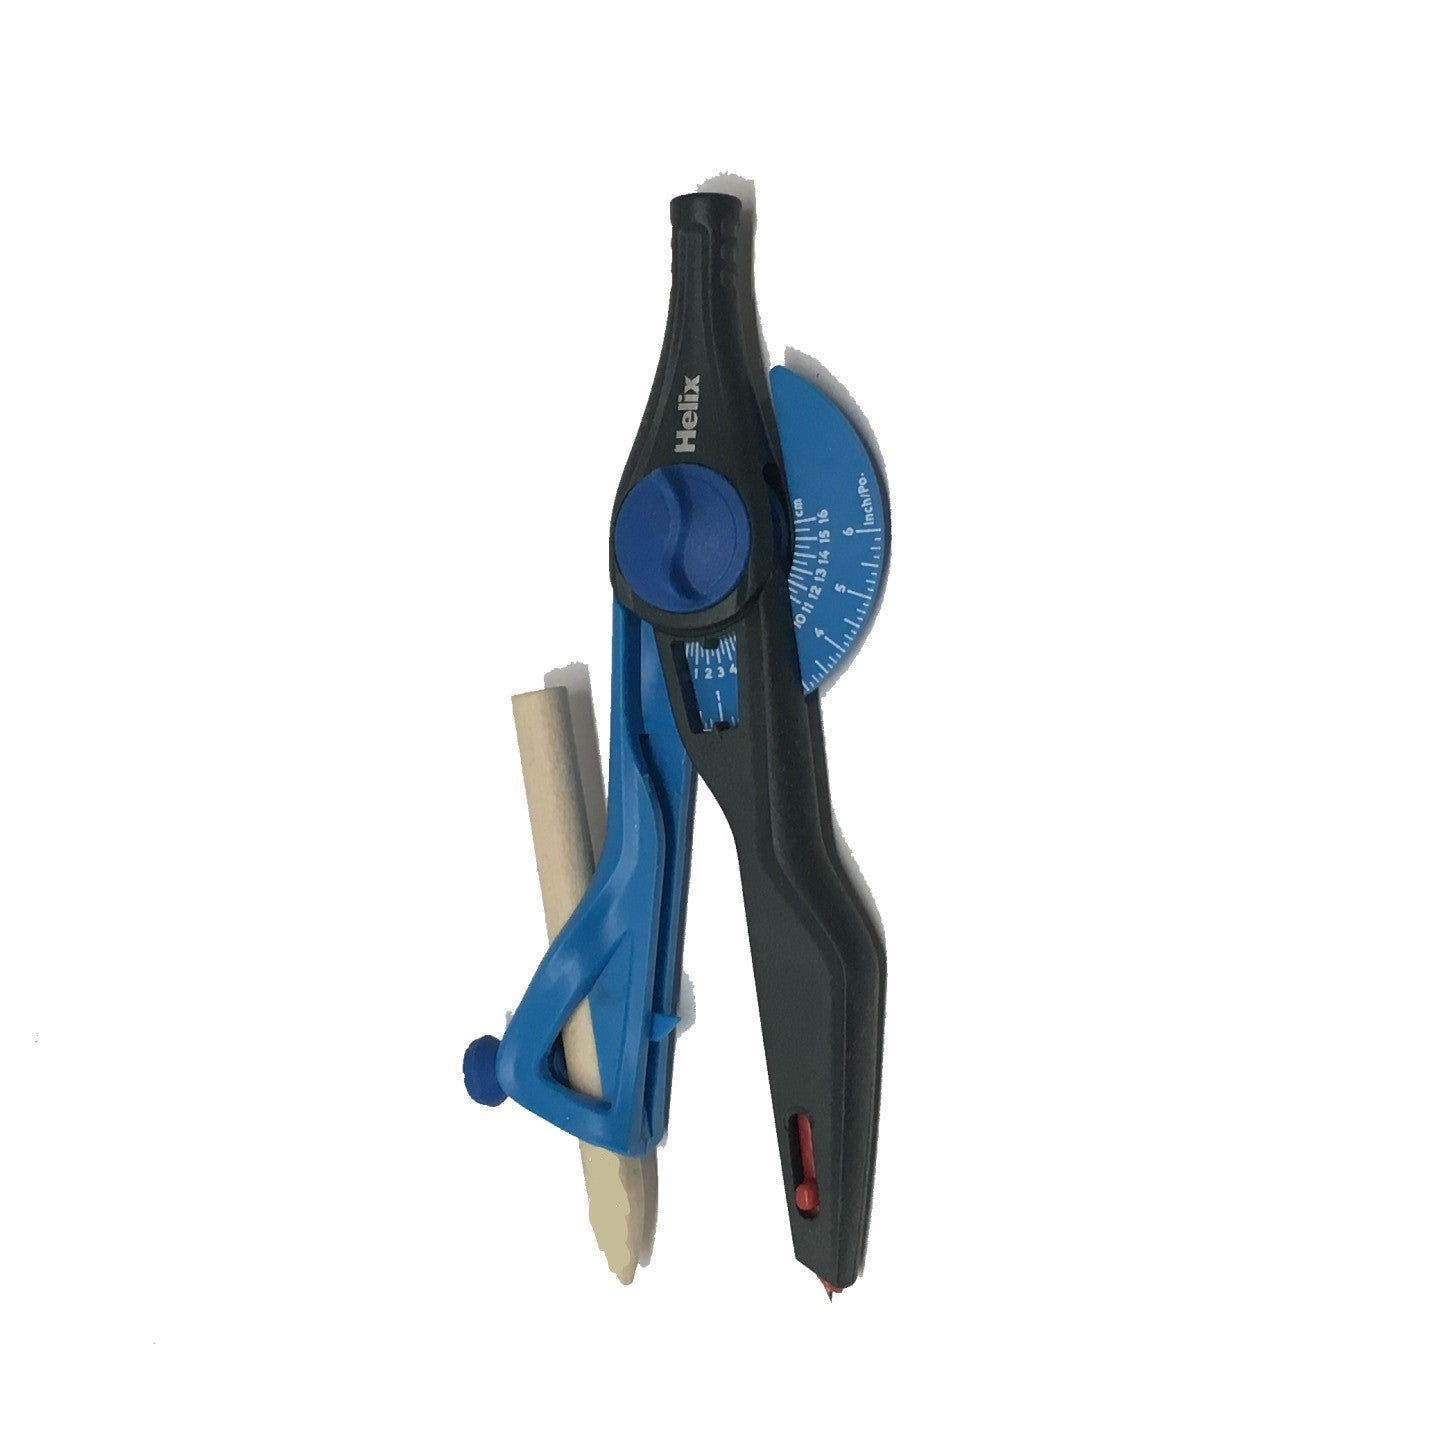
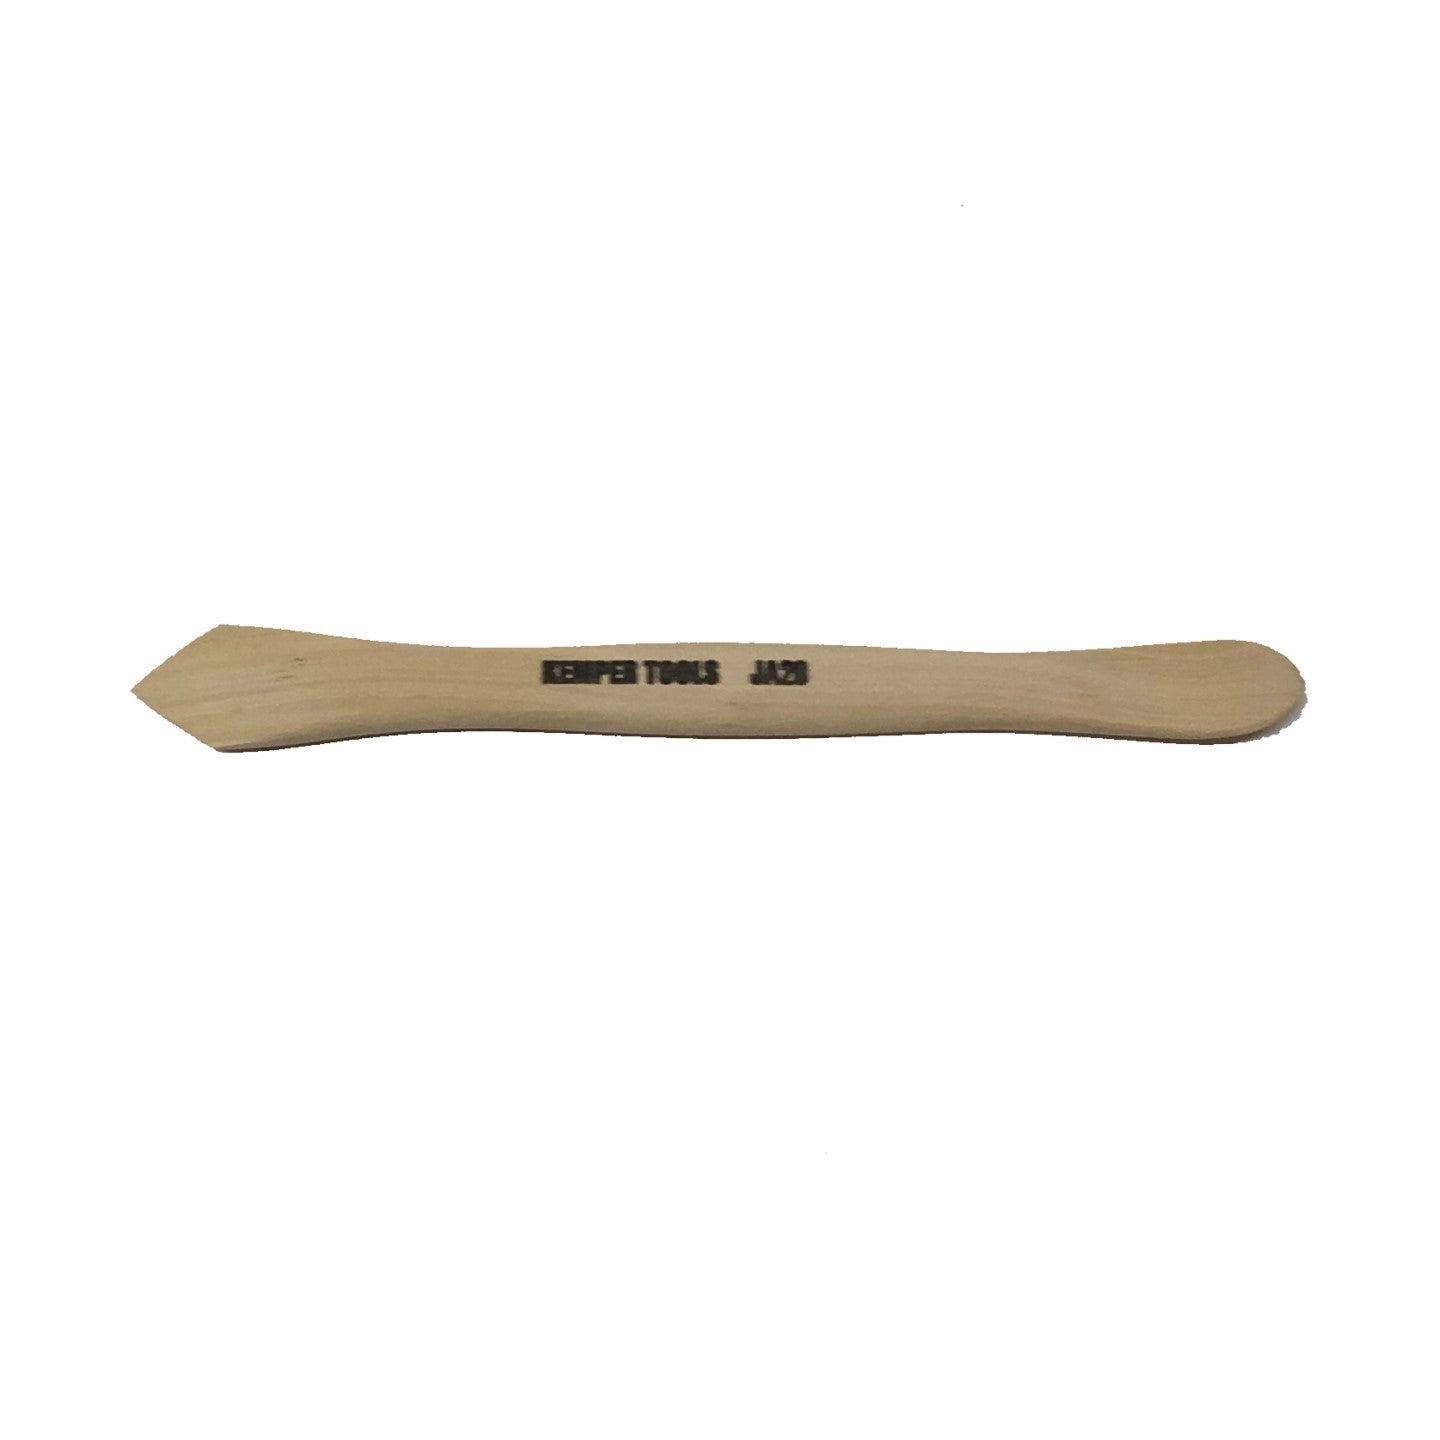
Once the slab is fully compressed you can begin adding the Platter's lip. One way to add a consistent lip is by using the Sue Tool (link opens in new tab/window). Simply set this tool to the width you want the lip to be and turn the center nozzle to lock that measurement in place. Then follow along the entire Form, placing the dowel against the Form's edge. The needle of the Sue Tool will be dragging through the clay which will create a mark where you will cut the lip.
Once you've made a mark with the Sue Tool - take the Loonie Knife (link opens in new tab/window) and cut along that line. Place any extra clay off to the side.
8. Add Feet
Next, for the Oval's feet, roll out another 1/4" slab and use a Rib to compress it. Next, make an impression line with the smaller side of the Form. Then take the Foot Maker (link opens in new tab/window) tool and follow along that impression line. Since this is a larger platter you may also want to add a smaller foot to place in the center of the Form which to avoid slumping.
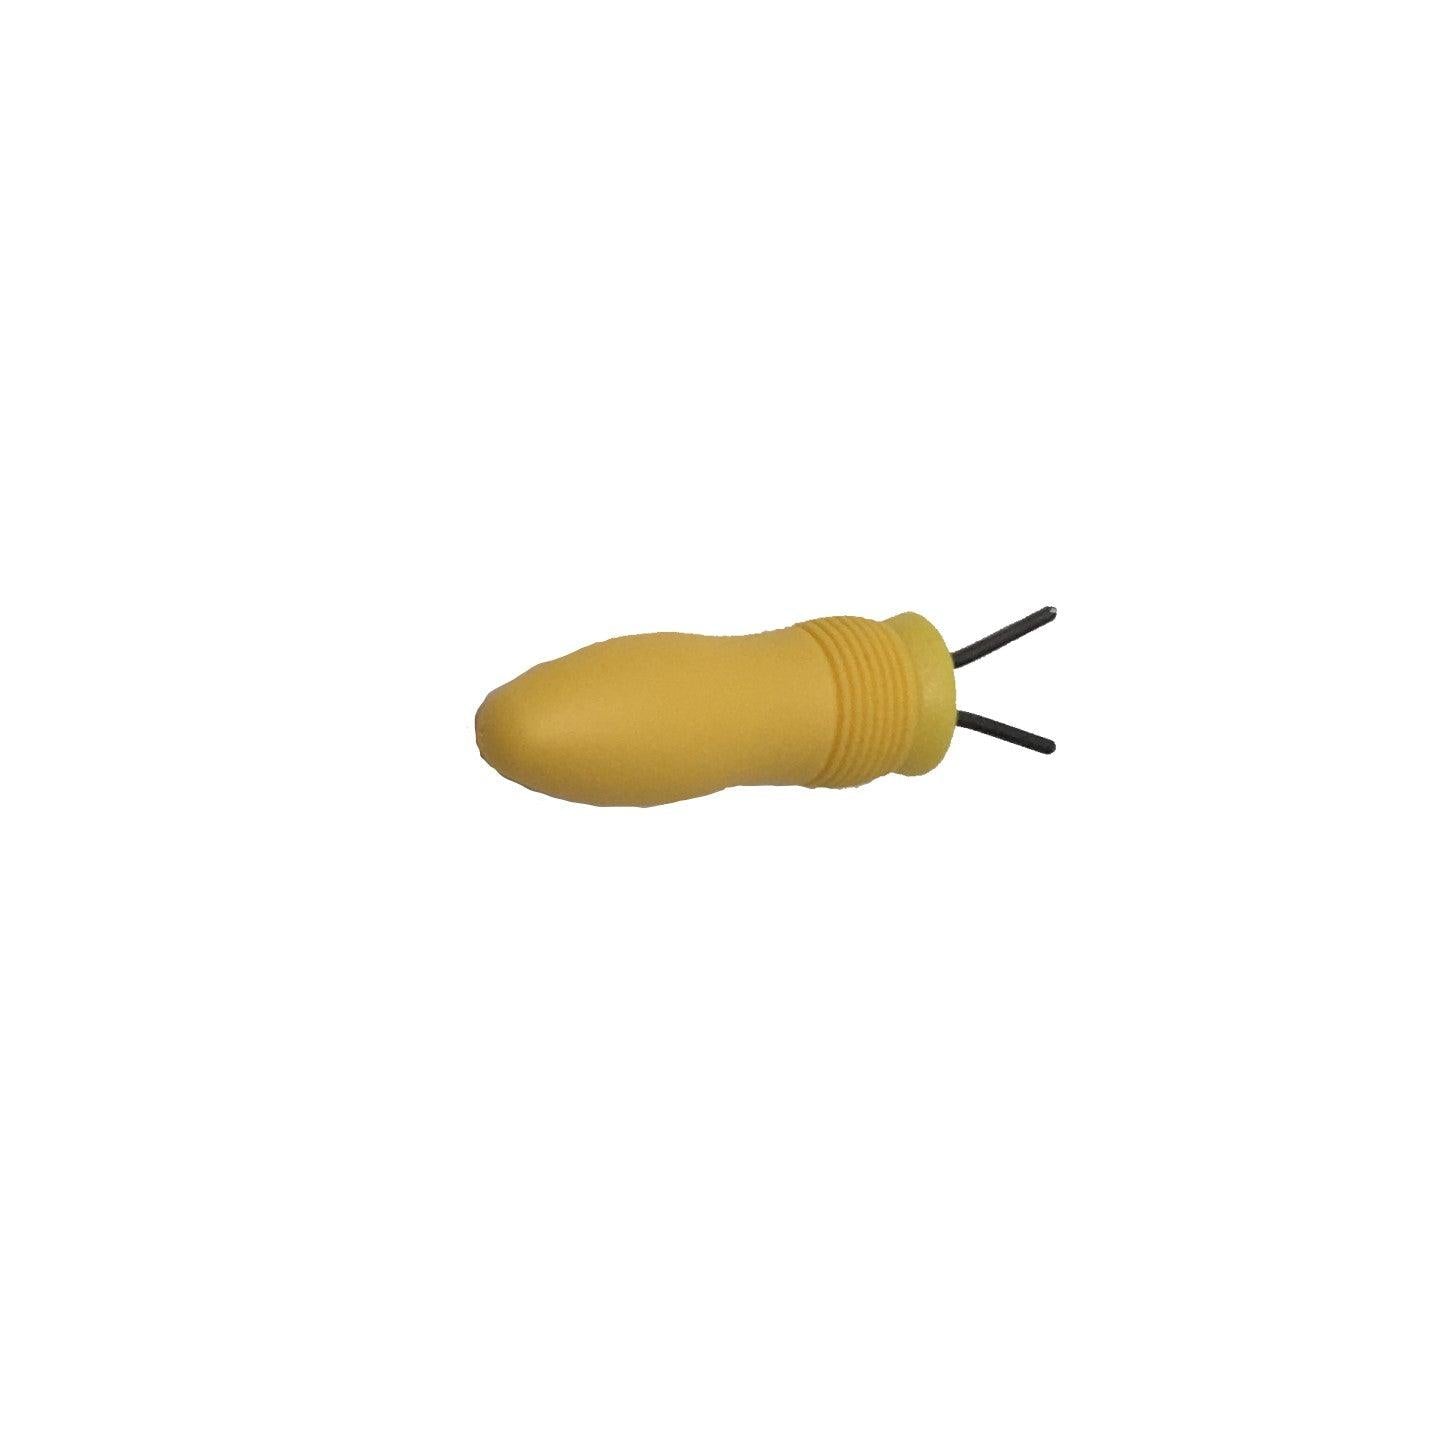
Before applying the feet, take a Wire Brush Tool (link opens in new tab/window) and score the area where the feet will be applied. Next, follow along that score mark with a wet brush. Finally, take one foot and place it on top of the area that you just scored.
To make sure the foot is fully attached, take your finger and rub the top of the feet. Next, take the Modeling tool (link opens in new tab/window) and follow along the inside and outside edge of the feet, making sure it is fully attached.
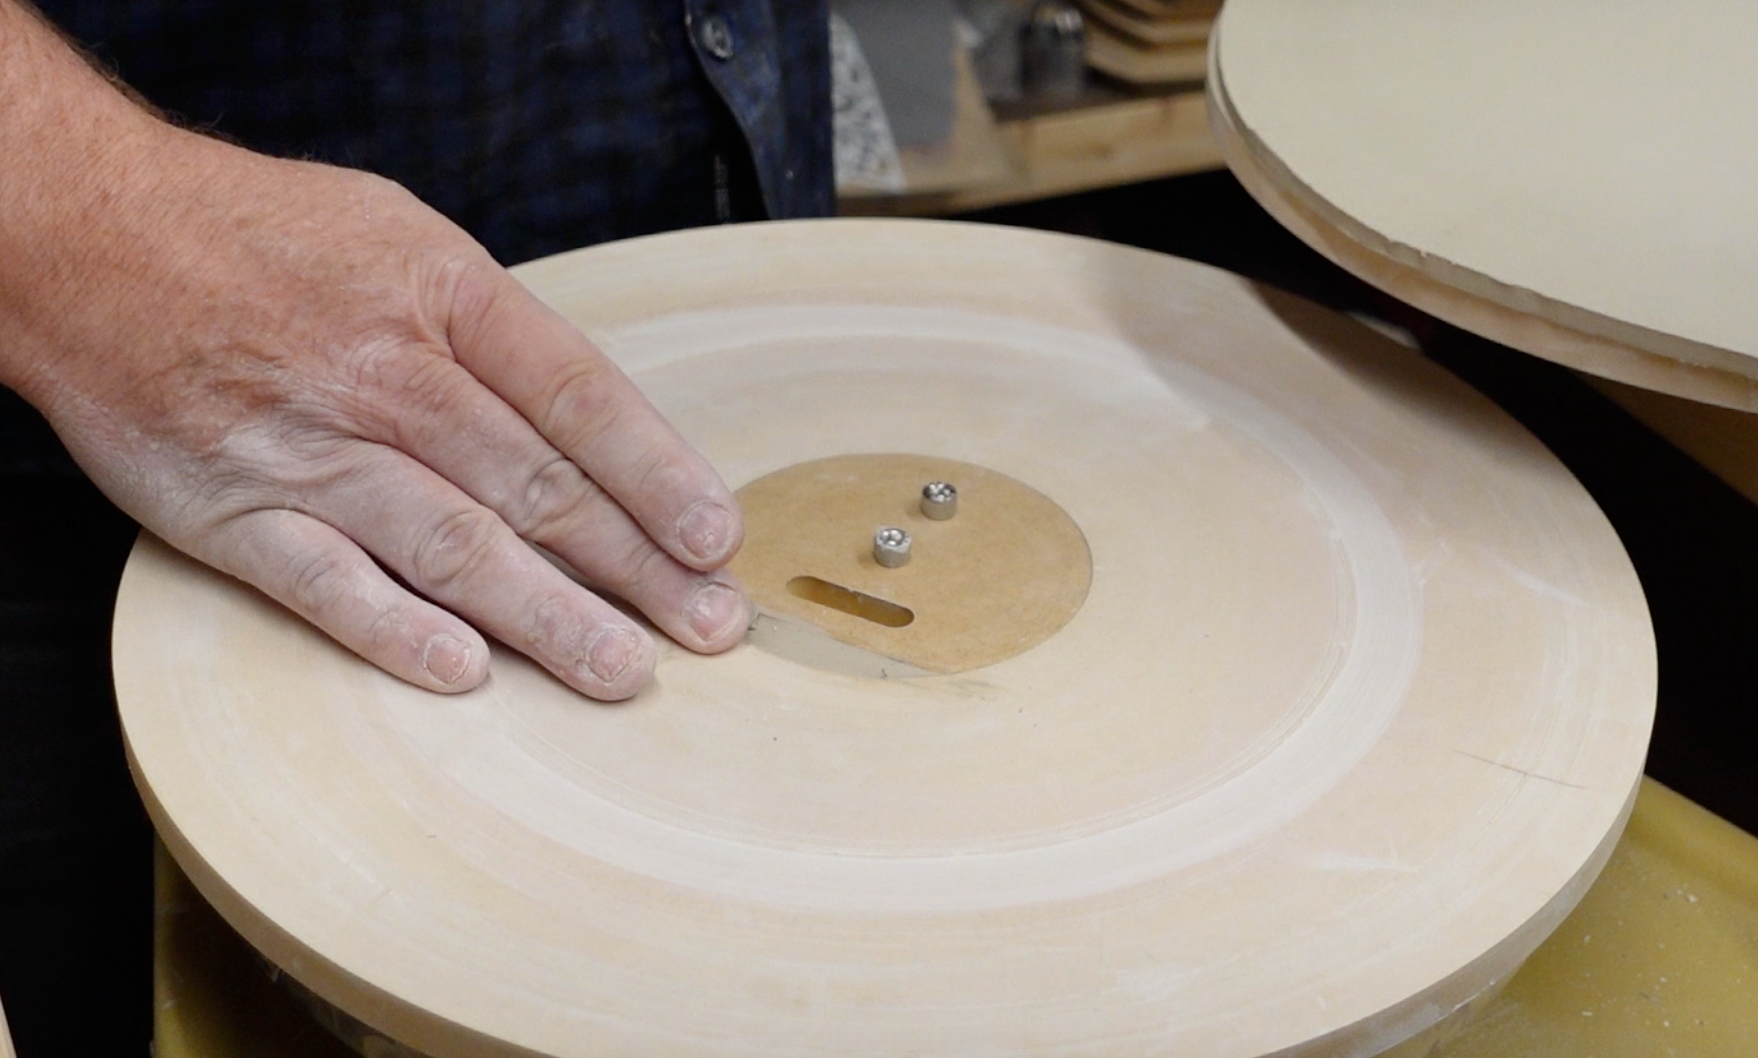
9. Place Piece on a Spacer
Lastly, lift up your piece and place a 1/2" Spacer (link opens in new tab/window) underneath it. Then press the edges down to the board - this puts the rim at an angle to avoid the rim from flopping/slumping in firing.
We hope these steps were helpful on how to create a large Oval Platter. Here is a tutorial video that goes through the above steps:
Tools used in blog:
- 13x17" Oval Form: https://grpotteryforms.com/products/oval-13x17?_pos=3&_sid=2c156df84&_ss=r
- Mudtools Rib: https://grpotteryforms.com/collections/mudtools
- Loonie Clay Knife: https://grpotteryforms.com/products/loonie-clay-knife?_pos=1&_sid=e8c9b296e&_ss=r
- Foot Maker: https://grpotteryforms.com/products/tool-foot-maker?_pos=1&_sid=dd9d9f4ef&_ss=r
- Modeling Tool: https://grpotteryforms.com/collections/tools-accessories/products/tool-modeling-tool
- 1/2 Inch Spacer: https://grpotteryforms.com/collections/spacers/products/tool-spacer